First you want a photograph that is relatively well exposed. Overexposure will lighten the problem, but it will also remove a lot of texture from the skin, under exposure makes the problem a lot more noticeable. This image is SOOC (straight out of the camera) and is properly exposed.
First I identify the areas I want to correct. In this image the background was gaping a bit and the dark area pulls your eye to the right. The baby also had a bit of acne that I wanted to remove.
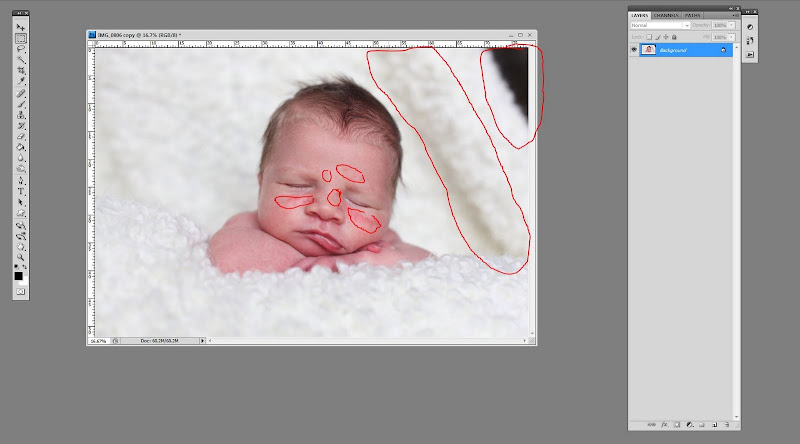 First I selected the clone tool and set it at 60% opacity and cleaned up the background (this only worked because the background was out of focus, if you had a background that was in focus you would need to use a different tool.)
 The image then looked like this.
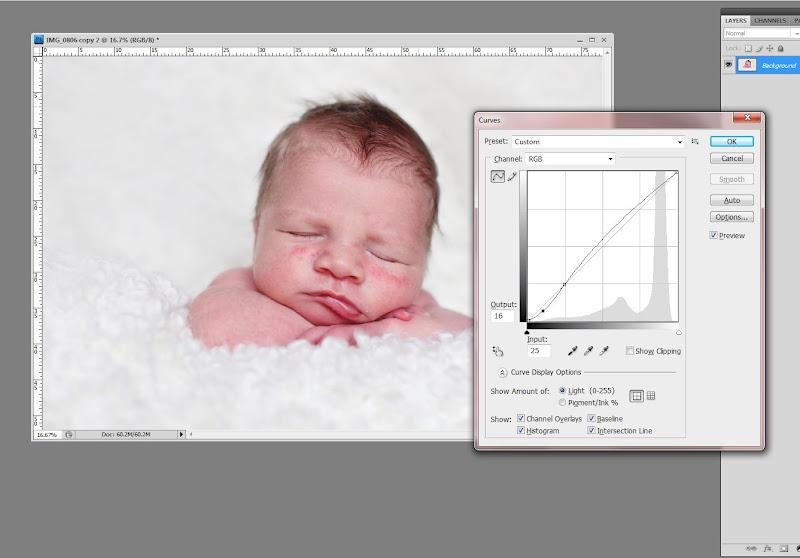
 Next I hit control and the "m" key to bring up curves and did a contrast adjustment as seen below. Very simply put, the top point controls the lightness/darkness of the image and the bottom point controls the contrast.
 Next I right clicked on the healing brush tool....
 and when the drop menu appeared I selected the "Patch" tool.
 The patch tool works this way; you select the problem skin and then drag the patch to an area of clear skin. The clear skin texture is then copied while the density and color of the original skin is maintained. Sounds easy, right?
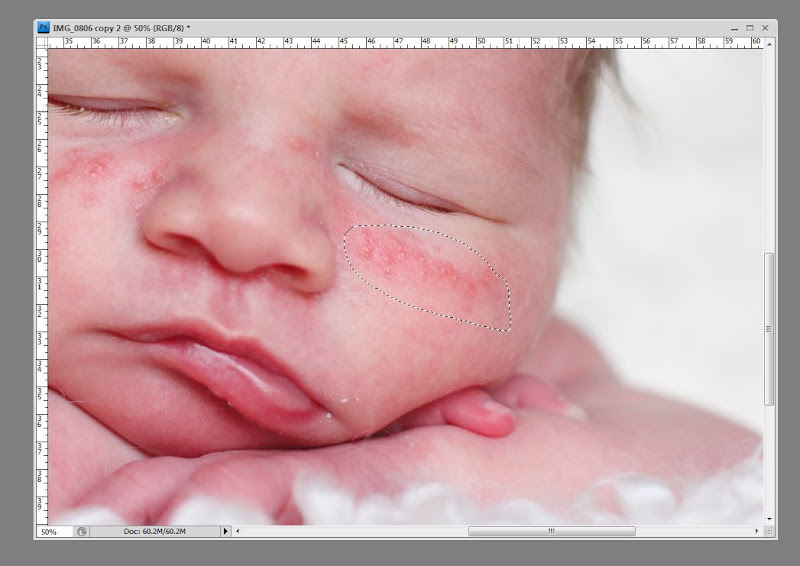 Here's how it can go wrong. If you select too large of a piece of skin it's much easier for it to copy the wrong texture (in this instance, the side of the nostril) and make your image look worse.
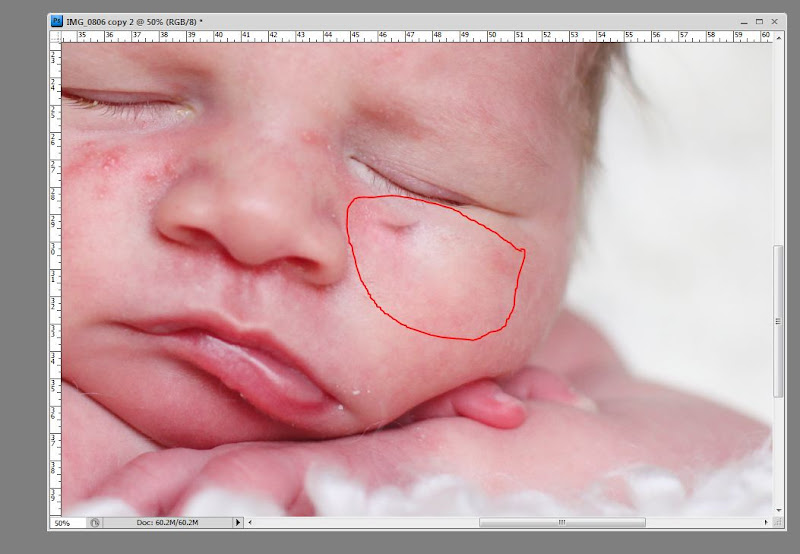 You want to select very small piece of your image to copy. For this image I chose pieces that were rough the size of the head of an eraser. My cleaned up version looks a bit like this.
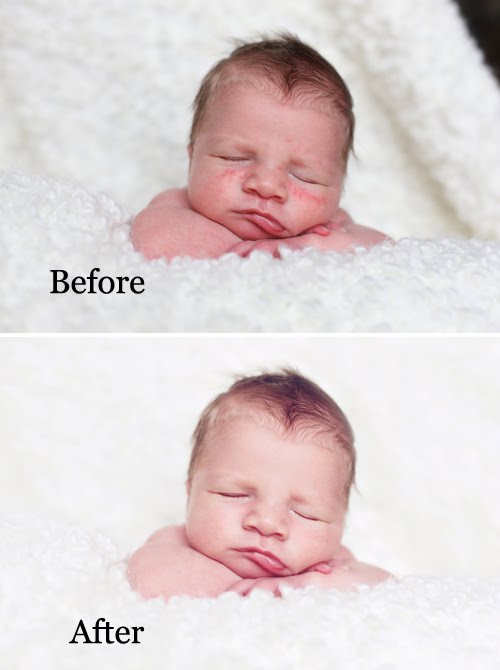
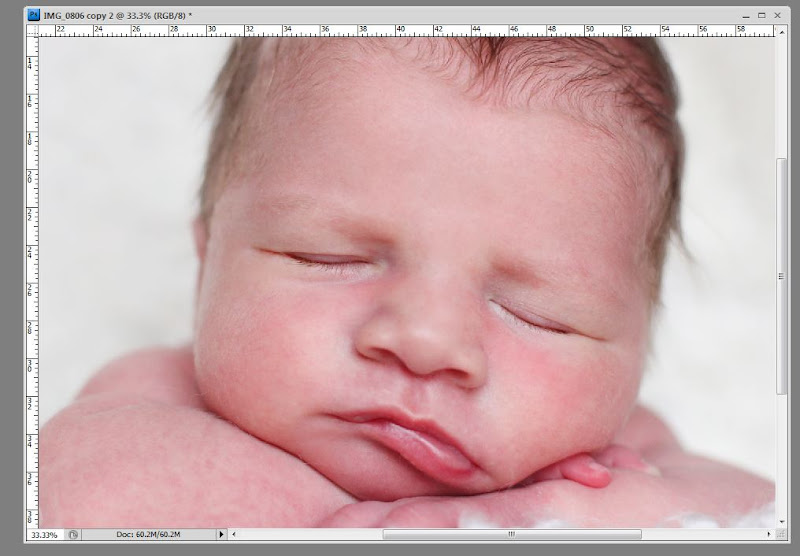 I then color corrected the image, selectively desaturated the shadows, and tinted the image for the final product.
 Here's a before and after, just to show the differences.
 Questions?

Hi! You are the best!!!! I love these tutorials! It's nice to have a reminder when it's been a long time since you've learned/used certain tools! Thank you lady!
ReplyDelete