Luckily for you, this is an easy problem with a fast fix. Below is an image that is pretty much SOOC (straight out of the camera), I cropped it to 100% of the image to hide the little one's identity.
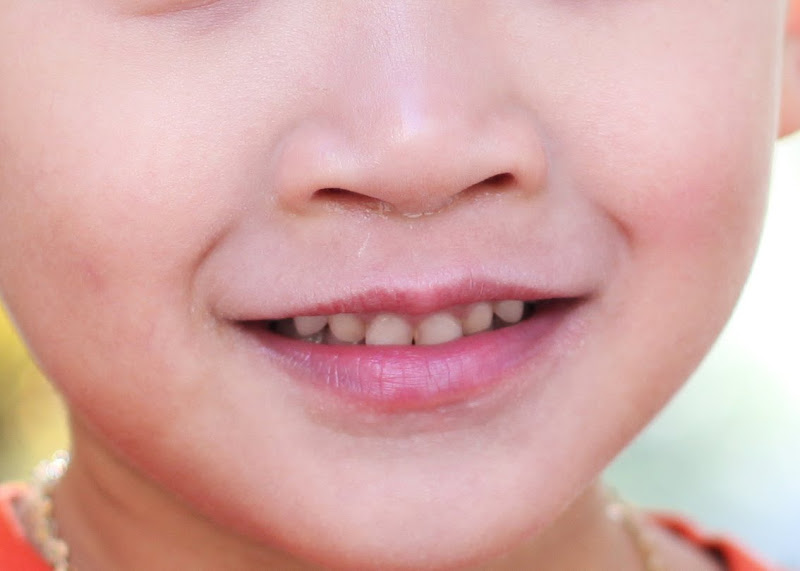 First of all open photoshop and load the image that needs augmenting. Zoom in on the image until only the offending part is visable. To do this hit control and the "+" key (to zoom out you do the reverse, control and the "-" key.) It should look a bit like this.
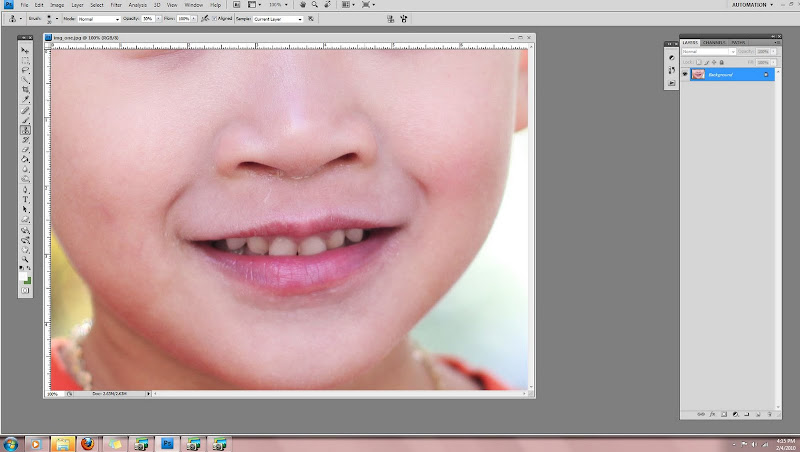
Next you will select the "spot healing brush" tool, which is circled below in red.
 Now, the key to getting a good looking fix with the spot healing brush tool is size. You want your brush to be *small*. To make your brush smaller hit the bracket key. The "]" makes your brush larger, and the "[" makes it smaller. Run your brush over all the white dried mucus and it should clone fixed skin over it. If you accidentally make a mistake and it starts looking worse, hit control and the "z" key to undo the last action you did.
When you are done it should look like this. Much better right?
 Okay, now for a runny nose. The key difference here is the angle of the nose and the fact that there's a runny bit to hide. With the droplet, you'll want to remove the shiny bit at the top and the darker shading at the bottom and it will disappear. You can do this and quite a bit more with the spot healing brush tool.
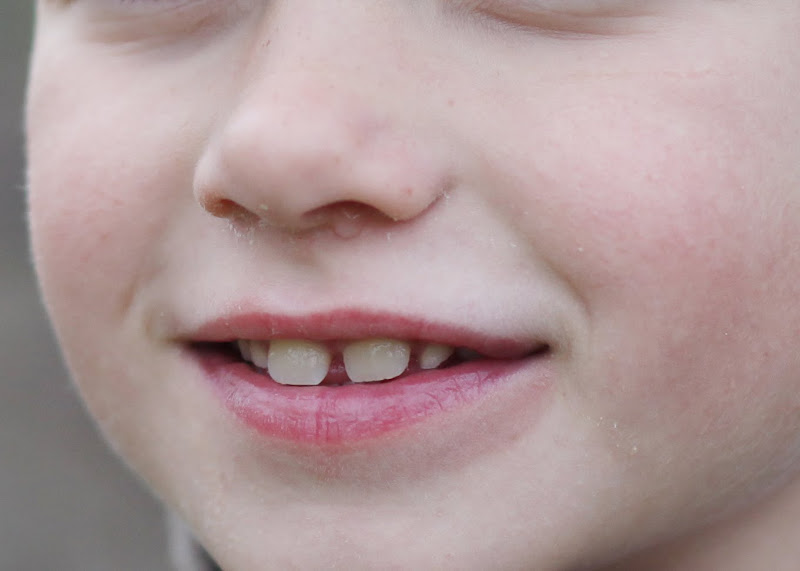 However, for this image some of the shading under the nostrils gets messed up with just the spot healing brush. So, you'll want to select the "clone tool" (see below) to get the rest of the job done.
After you select the clone tool, change the opacity at the top of the page to about 20-30 %, the select the area of skin you would like to mimic (hold down the "alt" key and click on the skin you wish to copy) and copy the right shading using that technique.
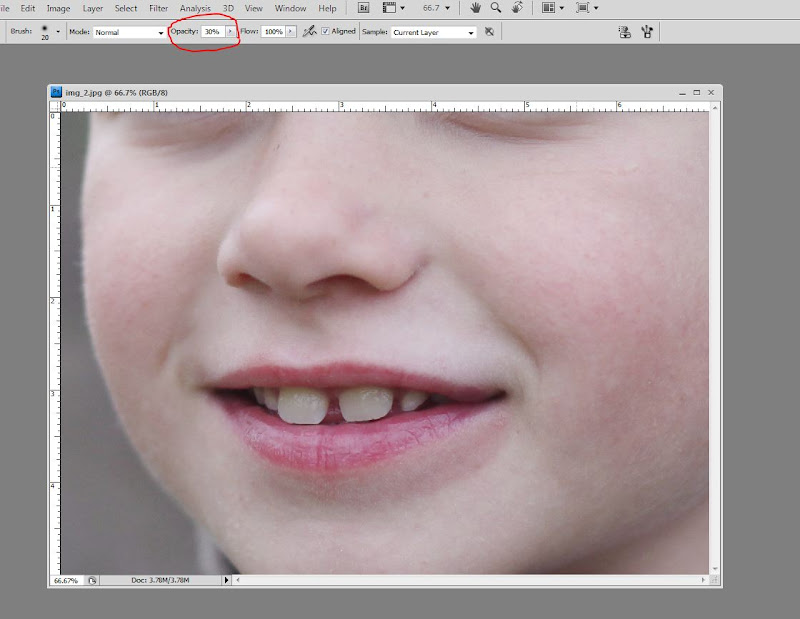 You finished product should look a bit like this. Now this image isn't fully edited, but it already is starting to look a lot more like a frame-able image. :)
 Questions?


No comments:
Post a Comment